Exporting Agent Data from REality Software into BrokerKit

We’re excited to announce that REality Software now integrates with BrokerKit, one of the most popular recruiting and retention CRMs in the real estate industry. This integration makes it easier than ever to move your carefully curated prospect lists from REality Software directly into BrokerKit, streamlining your recruiting process and saving you hours of manual work.
Below you’ll find a simple, step-by-step guide to exporting agent data from REality Software and preparing it for upload to BrokerKit.
Step 1: Create Your List of Prospective Candidates
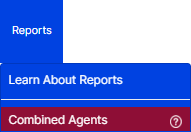
- Click on the Reports menu.

- Select Combined Agents.
- Once the results appear, narrow your data by clicking the “Advanced Search” at the top right of the data table.

Step 2: Decide What Type of Agents You’d Like to Recruit
Use our Search Criteria Operators.

For example, to target agents who have sold 5 to 7 transactions in the past 12 months:
- Enter 5…7 in the Units box.

To target agents based on transaction volume:
- For example, to find agents with sales volume greater than or equal to $10,000,000, enter >=10000000 in the Value box.

Click Finished Search to display your results. You’ll now see a list of agents that match your chosen criteria.

Step 3: Filter by Location
You can refine your list even further by geographic area: By City, Zip/Postal Code, Community, District, Area, Subarea, Subdivision (depending on your MLS).
- Click the Filter menu.

- Select your desired location filter, such as Zip Code.
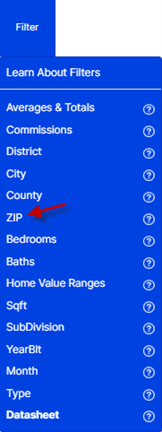
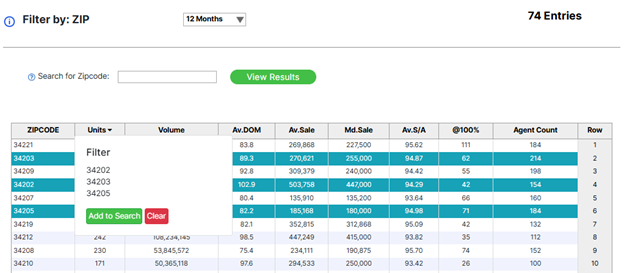
- A list of options will appear.
- Search for a zip code, select one, or add multiple options by clicking each zip code and then click on Add to Search
Step 4: Target Agents by Their Current Office Location
You can also filter by the location of the agent’s current office:
- Click on Reports.
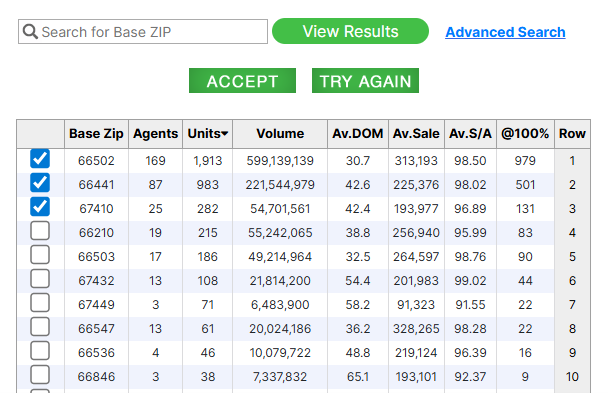
- Select Base City or Base Zip Code from the menu.

- When the page loads, select your choice (s) and click Accept.
- Then return to Reports → Combined Agents to view agents that meet the criteria.
Step 5: Combine Multiple Filters
Mix and match advanced search criteria, performance metrics, and location filters to narrow your list down to exactly the agents you want to target.
Step 6: Export Your List Using the BrokerKit Template
- Once your list is finalized, look to the top of your screen for the blue Export option and click on that button.

- Enter the number of rows you’d like to export (you can export up to 1,100 rows per day by default).
- Select the option to export using the BrokerKit Template in Excel Format. This ensures your exported file is automatically formatted for BrokerKit.
Step 7: Import to BrokerKit
- Open your exported file.
- Add in any additional data if needed.
- Do not modify the column header names. BrokerKit matches data by header name, and changing them may prevent a successful import.
- Save your file.
- Import the file into BrokerKit using their standard import feature.
Why This Integration Matters
This new capability allows you to move seamlessly from data analysis to recruiting action. By combining the power of REality Software’s deep MLS data with BrokerKit’s recruiting workflows, you can:
- Target the right agents faster.
- Automate your follow-ups.
- Send and track communications from a single platform.
- Track candidates through every stage of hiring.
- Run ongoing campaigns that nurture leads until they’re ready to join.
- Measure your results with built-in analytics.
- Save hours on manual data entry.
In Summary
With this integration, you’re now able to export powerful agent lists from REality Software and upload them directly to BrokerKit, putting your recruiting on autopilot and giving you a competitive edge in attracting top talent.
News Articles
- October 7, 2025
- September 15, 2025
- September 15, 2025
- November 16, 2022
- October 9, 2022